Baths mats
Non-slip bath mats are available. Please contact Guest Services.
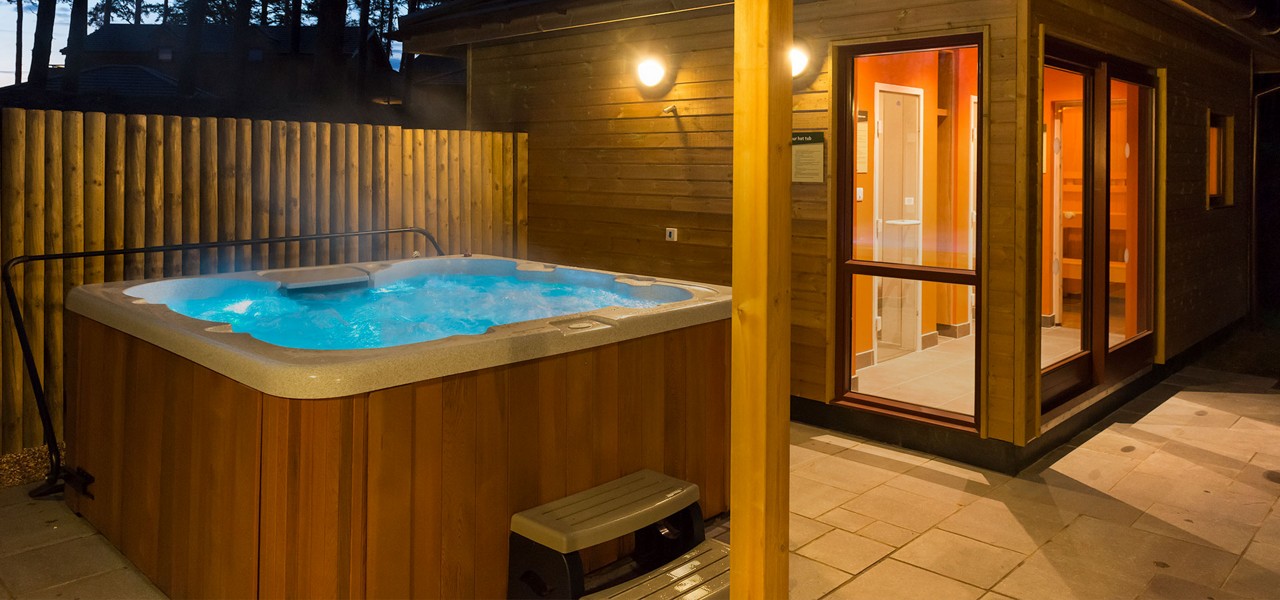
Hot tubs
(Available in specific types of accommodation)
Signage on how to operate your hot tub can be found in the safety guidelines located on the patio area. In adapted accommodation, a hoist is available upon request. If you require any assistance using the hot tubs, please contact Guest Services.
Hot Tub - Oxford Dipper Lift Instructions
THE SAFE WORKING LOAD OF THIS LIFT IS: - 140kgs / 22 STONE
Safety precautions for the dipper lift
Please read and follow the safety precautions listed below. The operation and use of Oxford patient lifts is simple and straightforward. Following these few basic safety precautions will make lifting operation easy and trouble free.
- ALWAYS plan your lifting operation before commencing.
- ALWAYS carry out a CHECK OF THE LIFT before using it.
- ALWAYS familiarise yourself with the operating control and safety features of the lift before lifting the person
- DO NOT any other slings other than those listed with an Oxford lift:
- Oxford Quickfit Sling
- Oxford Full back Sling
- Oxford Quickfit Deluxe Sling
- Oxford Longseat Sling
- ALWAYS check the sling is suitable for the particular person and is of the correct size and capacity
- NEVER use a sling, which is frayed or damaged.
- ALWAYS fit the sling according to the instructions in the user manual (attached).
- ALWAYS check the safe working load of the lift is suitable for the weight of the person.
- ALWAYS carry out the operations according to the following Oxford-Dipper-User-Manual instructions.
- NEVER disconnect or bypass a control or safety feature because it seems easier to operate the lift.
- NEVER force an operation or safety control. All controls are easy to use and do not require excessive force to operate. If a control is not working easily there will be a reason. Forcing will only strain or damage the lift and may compromise safety.
- DO NOT lift a person unless competent to do so.
- THIS LIFT is for person lifting only. DO NOT use it, allow it to be used, for any other purpose.
- The Oxford Dipper should NOT be operated by any person who is under the influence of alcohol, drugs or prescribed medication, that may adversely affect their ability to operate the equipment safely.
- If the Oxford Dipper is being used to lower or raise a patient into water e.g. a swimming pool, hot tub or hydrotherapy pool, it is recommended a second competent/trained carer is positioned in the water immediately adjacent to the patient.
- ENSURE the sling straps are correctly and securely attached to the spreader bar.
How to fit the sling from a seated position
- Raise the client’s leg and feed the padded leg piece under and up between the legs. Ensure that the sling is not twisted or creased under the thigh. Repeat this procedure for the other leg.
- Feed the right leg support through the strap on the left leg support. Cross over leg straps, pass one leg strap through the other and attach to hoist on front hooks.
- Raise lift to convenient height and attach the shoulder straps as shown. You may then raise the client to the required height. When seating the client, the hand grip on the back of the sling may be used to ensure a good seated posture.
Top tips
- The client’s posture can be altered by adjusting both shoulder straps.
- If in doubt, attach to coloured loops.
- Keep shoulders straps at equal length.
How to fit the sling from a lying position
- Draw sheet roll the client onto the sling, ensuring that the top of the commode aperture is at the base of the spine.
- Bring the leg support straps up and between the client’s legs and proceed as from the seated position, attaching to the shortest possible loop. N.B. If you with to place the client onto a high bed it may be necessary to lower the patient onto an intermediate surface and adjust the strap length.
Operation of the dipper lift
1. Connect the sling to the support arm on the lift.
NOTE: An unloaded boom will not come down under its own weight, it will be necessary to apply some pressure to the boom before it will descend.
NOTE: The raising and lowering of the boom is achieved by a powerful hydraulic ram which is operated by two simple controls: the release valve, which is identified by a black knurled knob, and the pump handle which is a long lever on the side of the hydraulic unit.
To raise the boom, ensure the hydraulic release valve is fully closed. The valve is closed by gently turning the knurled knob fully clockwise (Finger tight only). Once valve is closed, pump the long handle with smooth even strokes for maximum effect. The handle strokes from an upright position through an arc of 90 degrees.
CAUTION
• Leave the handle in the upright position when not in use.
• DO NOT force the handle beyond the upper or lower stops.
• If it is necessary to raise the boom to its maximum highest position, once maximum position is reached, stop pumping the handle immediately or damage may be caused to the hydraulic pump.
The hydraulic unit can be rotated to allow the handle to be used from either side of the lift.
To lower the boom, open the release valve by turning anticlockwise. The release valve is progressive, i.e. the more it is opened, the faster the descent. The valve is restricted so even when fully open the descent is controlled. If the release valve is partially opened (a quarter turn) a very slow speed of descent will allow the carer to work “hands free” while assisting or comforting the patient.
CAUTION REMEMBER to close the release valve before commencing lifting operations. The release valve only requires gentle pressure to open or close. DO NOT apply excessive force to the release valve, either to close or to open. It is not necessary and will only damage the valve.
2. Release the seat latch and raise the boom slowly by pumping the hydraulic unit handle. This will lift the seat away from the chassis.
3. When the seat is clear of the chassis, stop pumping and swing the boom and seat over the water.
WARNING It is recommended a second competent/trained carer is positioned in the water immediately adjacent to the patient.
4. Lower the seat into the water by turning the hydraulic unit release valve anticlockwise.
5. To raise the seat, rotate the release valve until closed (finger tight only) and then pump the hydraulic unit handle.
6. Swing the boom back from the water, position the seat over the Ranger chassis and lower the seat until the chair is reconnected.
7. Release the latch from the chair support arm. The Ranger seat can now be wheeled away.
8. Slings: The selected sling is attached to the spreader bar hooks. Each sling is supplied with instructions which should be followed carefully. The operation of the hoist is the same for the chair and sling options. Examples from the Oxford range of slings suitable for use with this device is Quickfit, Fullback, Quickfit Deluxe and Long Seat range.
9. Remove the sling and dry store.
User guide for the full back sling
The Full Back Sling is an easy fit, contoured sling designed to fit the majority of clients. It is designed for use as the traditional Quickfit sling but offers greater comfort and negates the need for side suspenders. It has integrated, boned head support and leg padding as standard.
The sling has four sizes – large, medium, small and paediatric.
Maintenance Schedule for the Oxford Dipper Lift
All Oxford products are designed for Minimum maintenance; however, some safety checks and procedures are required. A schedule of DAILY tasks is detailed below. Daily checks and a biannual service with LOLER, inspection and test will ensure a lift is kept in optimum safe working condition.
DAILY CHECK LIST
The following checks are to be carried out daily and before using the lift.
- MAKE sure the mast is fully located in the floor socket and is free to rotate.
- MAKE sure the spreader bar, if fitted, is free to rotate.
- CHECK the spreader bar or chair support tube is firmly attached to the boom and the safety latch holding the spreader bar or chair tube to the boom is engaged and working correctly.
- EXAMINE the sling hooks on the spreader bar and side suspenders for excessive ware. If in doubt – do not use.
- CHECK the safety latch which connects the chair to the chair support tube. Make sure the chair is fully engaged, and the latch prevents accidental disengagement.
- OPERATE the hydraulic unit to confirm the boom raises and lowers satisfactorily.
- CHECK the chair for correct engagement of the seat to the chassis.
- CHECK for hydraulic fluid leakage. Any leakage should be reported to service engineer immediately and the lift should not be used until it has been checked out.
- EXAMINE slings for fraying or other damage. DO NOT use any sling with fraying or damage to the suspension straps or tears in the body of the sling.
- EXAMINE all fixings and fasteners and ensure they are secure prior to use.
Hydrobath instructions
(Executive and Exclusive lodges only)
- Ensure Hydrobath bath is switched on at isolator (inside bathroom above the door)
- Fill bath 3/4 full
- The button on the bath will flash quicker when there is enough water in the bath.
- Once the button is flashing quicker you can press the button to turn the jets on, using dry hands.
- To turn off press button again and jets will stop.
- The Hydrobath baths jets are self-cleaning and will come on again by themselves; usually 30mins after bath has been used.
- Turn off at the isolator (inside bathroom above the door) after it has run though the cleaning cycle.
Please avoid draping towels over the hydrobath as this sometimes activates the sensors, turning the hydrobath on.
Sauna and steam rooms
(In specified types of accommodation only)
If these facilities are available within your accommodation, please familiarise yourself with the safety instructions. In steam rooms, pay particular attention to the location of the steam outlets as contact with them will cause burns. In saunas, ensure no items are placed in or near the coals at any time.
Failure to follow sauna instructions below have resulted in serious fires.
- You’ll be able to turn your sauna on between 7am and midnight.
- Please take a minute or two to read these instructions before using it
Getting started:
- Turn on the switch marked ‘Isolator’ in the lounge area (in some exclusive lodges the isolator switch is next to the sauna).
- Next, press and release the ‘Operation’ switch.
- A green light should now show, starting a one-hour timer
- Make sure the door to the sauna is properly closed, and allow 15 minutes for it to heat up
- Turn on the light inside your sauna by pressing the switch just next to the door
- Take off any jewellery, as well as your glasses or contact lenses
Sauna safety:
- Once inside, relax for around 10 minutes, then come out for a cool, invigorating shower
- Drink plenty of fluids (but no alcohol, please)
- Head back into the sauna for up to 10 minutes and repeat the process if you like
- When you’ve finished, turn off the sauna light and isolator switch in the lounge (when the green light turns off, the sauna turns off) and take a final cool shower
- Before dressing, relax for 15–20 minutes until your body temperature is near normal
When not to use the sauna:
- Within 90 minutes of a big meal or after drinking alcohol
- If you’ve very recently exercised – take a little rest first, as your body temperature will already be higher than normal
- If you have any infectious skin diseases, sores or wounds
- It’s best to check with your doctor before using the sauna if you:
- Are pregnant, particularly during the first or last three months of pregnancy
- Have heart disease, circulatory problems, epilepsy, high or low blood pressure, diabetes, migraines, kidney disease or any condition affecting your reaction to heat or ability to perspire
- Are prone to dizzy spells or fainting
- Have any other condition or are on medication that might make it unsafe to spend time in hot, dry places for example, if you take anticoagulants, antihistamines, vasoconstrictors or vasodilators (inhalers), stimulants, hypnotics or tranquillisers
- If you are reliant on a wheelchair for mobility, please do not use the sauna alone. If your wheelchair will fit into the sauna cabin, do not remain in it whilst using the sauna and do not leave it inside the sauna whilst in use. The metal parts of the wheelchair may become hot and burn skin on contact
Physiotherm infra-red saunas
How to use:
- Remove all jewellery and any metal (such as swimwear with metal pieces) as these could get hot
- To turn on, press the ‘on’ button once - a red light should show. Set the control setting to ‘strong’ and give the heaters 5 to 10 minutes to warm up
- As you start your session, reduce the control setting from ‘strong’ to ‘medium’
- We recommend sitting on a towel during your session and placing one under your feet, as the floor can get quite warm too
- Sit with your back directly in front of the heater for maximum relaxation
- Too hot? Too cold? Don’t worry, you can adjust the intensity to suit your comfort level (Feature only available in selected saunas)
- Relax for 20 to 40 minutes
- Remember to stay well hydrated before and after your session (but please, no alcohol)
Towels
Towels (one hand towel and one bath towel per person) are provided in all accommodation.